Appearance
Attach files to a document
You can attach files to orders, invoices, payments, purchases, stock receipts, transfers and adjustments, expenses, credit notes and refunds. Anyone who can open the document can then download them. You can add files in any status, even after a document is confirmed or void.
You can add up to 20 files to each document, of up to 10 MB each. Allowed types are PDF, JPEG, PNG, WebP, Word, Excel, CSV and plain text. Photos show a small preview.
Who can do this: Anyone whose role can edit that kind of document. Others can see and download the files, but can't add or remove them.
Step by step
Open the document, for example an order. Its Attachments section is on the right, above History.
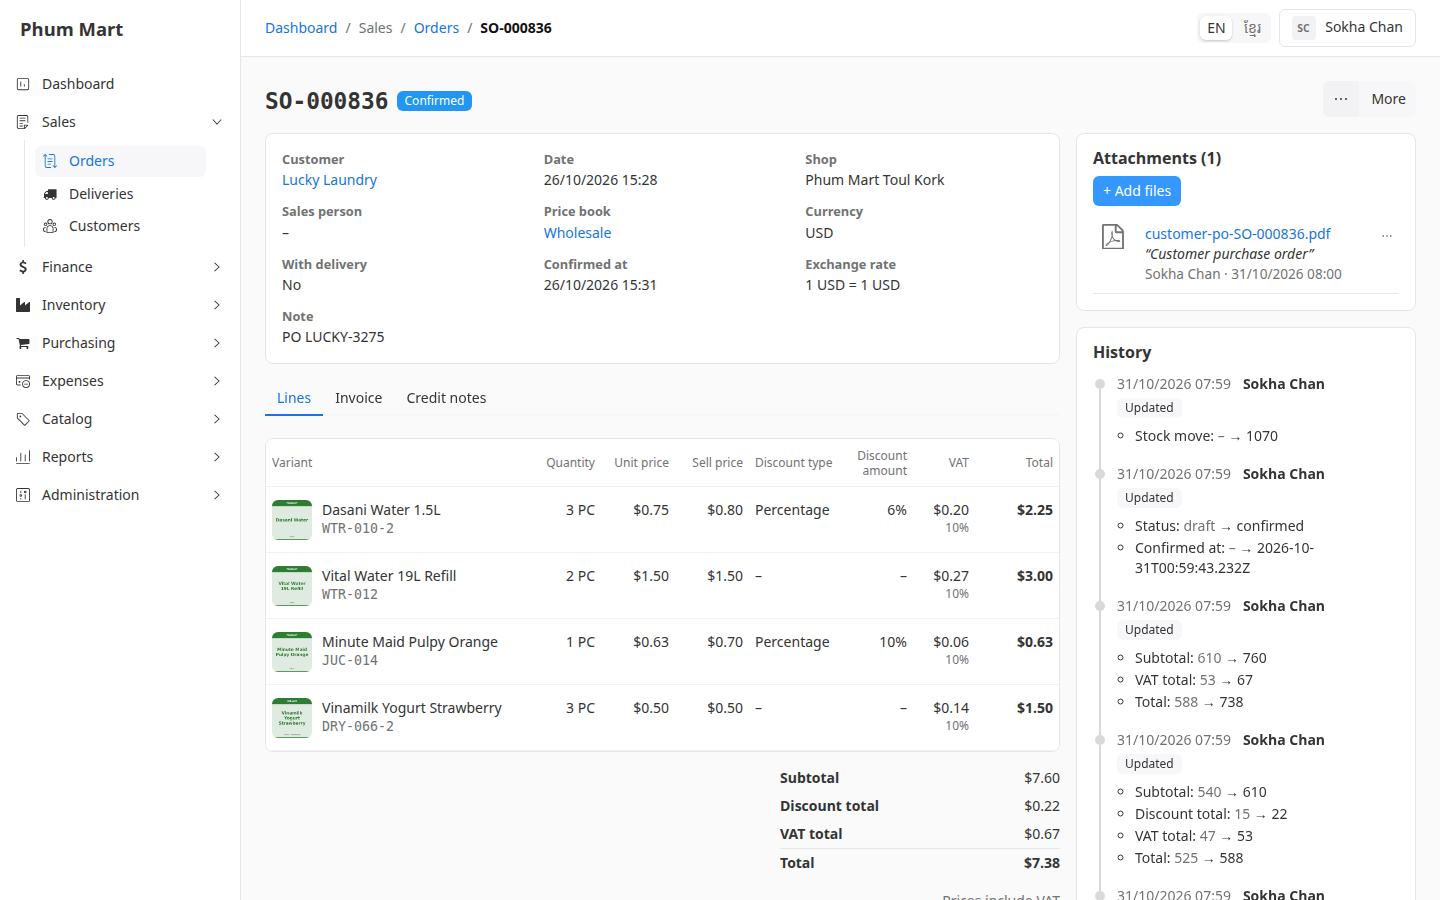
Click + Add files and choose one or more files from your computer.
For each file, type a short Note if it helps, for example "Signed by the customer".
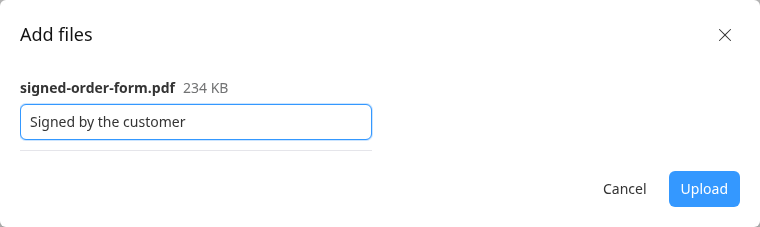
Click Upload. Each file shows its name, size, note, who added it and when.
To download a file, click its name. To see a photo full size, click its preview.
Remove a file
- Click ⋯ on the file's row, then Remove.
- Confirm. The file is deleted.
To change a note, remove the file and add it again.
Having trouble?
- A file is rejected: check its size (10 MB at most) and type. Files that failed stay in the popup with the reason. Click Retry to try again.
- "Remove a file to add another": the document already has 20 files.
- + Add files is greyed out: your role can't edit this kind of document. Ask someone who can, or your administrator.
- Deleting a document: deleting a draft order, purchase, stock move, expense or credit note deletes its files too, and the confirmation says so. Invoices, payments and refunds are never deleted, so their files stay.
Related
- Record a customer payment: add the transfer slip as proof of payment